Unlock granular control of your Google Shopping campaigns with custom labels. This guide will show you how to leverage this powerful tool to refine your bidding strategies, improve product visibility, and maximize your return on ad spend (ROAS).
Quick Summary
Google Shopping feed custom labels are a powerful tool that allows you to add specific, non-standard attributes to your products in the Google Merchant Center. By using these five flexible columns (custom_label_0 through custom_label_4), you can segment your products based on criteria like profit margin, seasonality, or performance. This enables more strategic bidding, streamlined campaign management, and ultimately, a higher return on your advertising efforts.
Why Custom Labels are Essential?
Custom labels are a cornerstone of advanced Google Shopping management. While basic attributes like brand or product type offer some level of control, they often don’t capture the nuances needed for a truly profitable campaign. For instance, two products from the same brand can have vastly different profit margins. Custom labels allow you to separate them and bid accordingly.
Achieving Granular Product Control
Imagine you sell clothing items. Using the standard product_type attribute, you might have a group for “T-shirts.” But what if some of those are high-margin bestsellers and others are clearance items? With custom labels, you can create segments like Margin: HighMargin or SellingRate: BestSeller, giving you the granular product control needed to prioritize your most valuable inventory.
Optimizing Bids for Maximum Profit (ROAS & ROI)
This granular control directly translates to smarter bidding. By isolating your high-profit products, you can confidently increase campaign bids on them, knowing the return will justify the spend. Conversely, you can lower bids on low-margin items to avoid wasting your budget. This is how you move from simply getting sales to driving profitable growth. I’ve seen firsthand how segmenting by profit margin can boost ROAS by over 30% in just a few weeks.
Enhancing Product Visibility and Ad Relevance
When you structure campaigns using custom labels, you can create more relevant ad groups. This improves your Quality Score, which Google rewards with better ad placements and lower costs. For example, creating a “Summer_Collection” label helps you push seasonal items at the right time, ensuring your ads are shown to customers actively searching for them.
Streamlining Campaign Management and Reporting
A well-planned custom label structure simplifies your entire workflow. Instead of managing thousands of individual products, you manage logical product groups. This makes reporting clearer and adjustments quicker. You can instantly see how your “Best Sellers” are performing versus your “Clearance” items, making internal campaign management far more efficient.
Understanding Custom Labels
Your Google Shopping feed is the foundation of your Shopping ads. It’s a file containing all the critical information about your products. Custom labels are a specific part of this feed that you define to organize your products in a way that makes sense for your business goals.
What are the main product attributes?
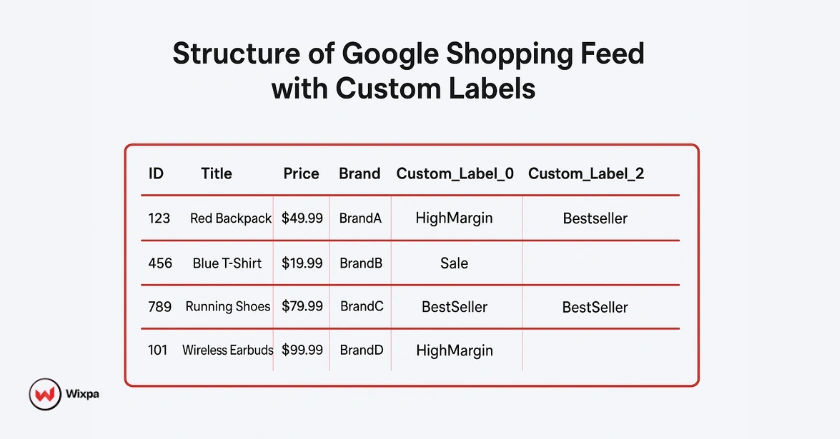
- Product Attributes: These are the standard pieces of information Google requires for each product, such as ID, title, price, brand, and GTIN. They form the core of your product data.
- Custom Label Attributes: You get five custom label columns, named custom_label_0 through custom_label_4. You can assign any value you want to these columns, giving you the flexibility to segment your product inventory based on your unique business logic.
- Distinguishing Custom Labels: While attributes like product_type are useful, they are often rigid. Custom labels are entirely yours to define. A product_type might be “Shoes > Sneakers,” but a custom label could be Season: Spring or Price_Tier: Under_50, offering a more dynamic layer of organization.
How Do I Create Custom Labels?
Creating custom labels happens within the Google Merchant Center using a feature called “Feed rules” (sometimes referred to as attribute rules). This is where you tell Google how to populate your custom label attributes based on other data in your feed.
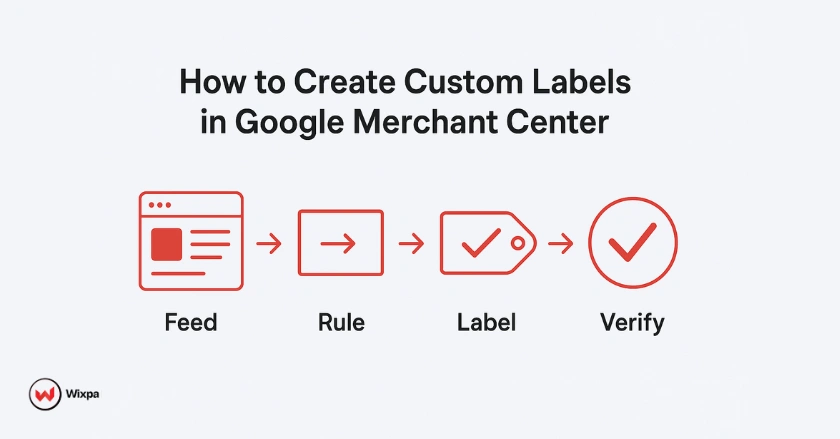
- Navigate to Feed Rules: In your Google Merchant Center account, go to Products > Feeds and select your primary feed. Then, click on the Feed rules tab.
- Define Your Custom Label Values: Before you create a rule, decide on your strategy. For example, you might want to create a label for price ranges. Your values could be “Under $25,” “$25-$50,” and “Over $50.” It’s crucial to be consistent with your naming conventions to avoid errors.
- Set Up Feed Rules: Click the blue “+” button to create a new rule. In the “Process source” section, search for and select the custom label attribute you want to use (e.g., custom_label_0). Then, under “Set to,” you can define conditions. For a price bucket, you might set a rule like: “Set custom_label_0 to ‘Under $25’ if price is less than 25.”
- Verify Custom Label Application: After saving your rules, go to the “Processing” tab and re-process your feed. Once complete, you can check individual products in the “All products” list to ensure the custom labels have been applied correctly.
Strategic Segmentation
The power of custom labels comes from a smart segmentation strategy. Here are some real-world examples I’ve used to drive results for ecommerce clients:
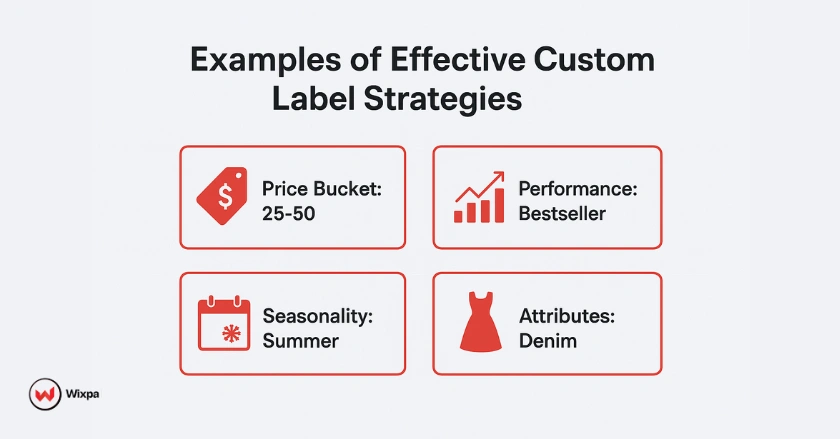
- Price-Based Segmentation: Create product price ranges to adjust bids based on product cost. For example, Price_Bucket:0-25, Price_Bucket:25-50, Price_Bucket:50-100. This is a foundational strategy for many retailers.
- Performance-Based Segmentation: Label products based on their sales data. You could use Performance: Bestseller, Performance: SlowMover, or Performance: NewArrival. This allows you to push your winners and manage underperforming stocks.
- Product-Attribute Based Segmentation: Use labels to highlight key features not covered by standard attributes. For an electronics store, this could be Feature:5G_Compatible or Feature: Waterproof.
- Seasonality and Thematic Segmentation: Group items for specific events or seasons, like Season: BackToSchool or Event: BlackFriday. This is perfect for coordinating your advertising efforts with your marketing calendar, even for local events at your city’s shopping center.
How Do I Activate Custom Labels?
Once your labels are set up in the Merchant Center, you need to use them in your Google Ads campaigns. This is done by subdividing your product groups.
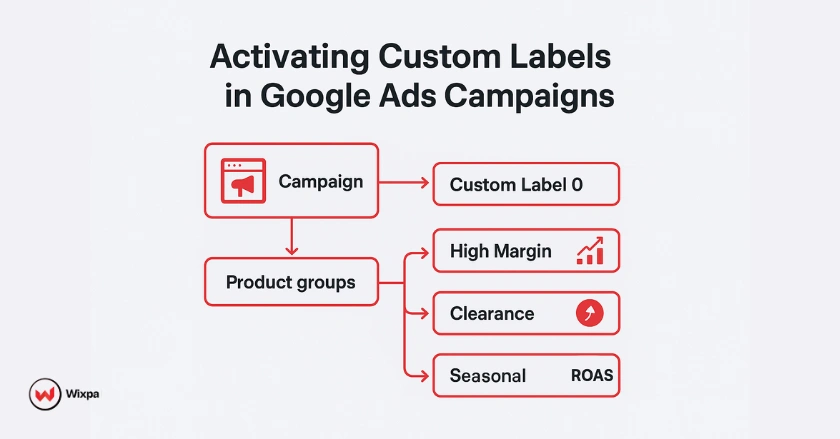
- Build Product Groups Using Custom Labels: Inside your Google Ads Shopping or Performance Max campaign, navigate to your product groups or asset groups. Click the pencil icon to edit subdivisions.
- Select Your Custom Label Attribute: From the attributes dropdowns, choose the custom label you want to use (e.g., Custom label 0). Google will show you the values you created. Select them to create new product subsets.
- Integrate with Performance Max Campaigns: In PMax, you can use custom labels to create specific listing groups within your asset groups. This allows you to tie specific assets (text, images) to distinct sets of products, creating a more cohesive ad experience.
Pro Tips
- Combine Labels: Don’t be afraid to combine multiple custom labels for hyper-granular segmentation. For example, you could target custom_label_0 = Bestseller and custom_label_1 = HighMargin.
- Dynamic vs. Static: Use dynamic rules in your feed for attributes that change often (like Bestseller). Use static values for things that don’t, like Season.
- A/B Test: Test different segmentation strategies. Does bidding by margin work better than bidding by price bucket? The data will tell you what’s most effective for your business.
- Character Limits: Be mindful of the attribute limit. Keep your values concise and clear. For example, use “HM” for “High Margin” if you’re running out of space.
Final Thoughts
Mastering Google Shopping feed custom labels is no longer just an option; it’s essential for any retailer serious about growth. By moving beyond basic campaign structures, you unlock the ability to manage your campaigns with surgical precision, ensuring every dollar of your ad spend is working as hard as possible.
Start small. Implement one custom label strategy, like price buckets, and measure the impact. As you build confidence, you can build more complex campaign structures to give you a significant competitive edge. The future of retail advertising is data-driven, and custom labels are your key to harnessing that data for maximum profit.
FAQs
1. What are Google Shopping feed custom labels?
Google Shopping feed custom labels are optional attributes (custom_label_0 through custom_label_4) that help you categorize products for smarter bidding and campaign segmentation. They let you tag products by profit margin, seasonality, stock status, or performance level, giving advertisers more control over ROAS and budget allocation within Google Ads.
2. How do I create custom labels in Google Merchant Center?
To create custom labels in Google Merchant Center, go to Products → Feeds → Feed Rules, and define rules to assign labels like “Bestseller” or “HighMargin.” You can also use a supplemental feed for bulk labeling. Once processed, these labels sync with Google Ads, allowing you to segment products by label for more targeted bidding.
3. What’s the best strategy for using custom labels in Google Shopping campaigns?
The best strategy is to use Google Shopping feed custom labels for segmentation that support business goals. Common examples include:
Performance: Label top sellers vs. slow movers
Profit Margin: Bid higher on high-margin items
Seasonality: Create labels like “Winter_Collection” or “BlackFriday”
This structured segmentation improves ad relevance, bidding precision, and campaign profitability.
4. Can I automate or simplify managing Google Shopping feed custom labels?
Yes. Tools like Wixpa Google Shopping Feeds simplify label management by automatically syncing your Shopify product data with Google Merchant Center. You can easily add or modify custom labels directly from your Shopify dashboard, saving hours of manual feed editing.
5. Do Google Shopping feed custom labels affect SEO or ranking?
Custom labels don’t impact your organic SEO or Google Shopping ranking directly; they’re internal attributes for ad segmentation. However, they indirectly improve performance by allowing you to bid smarter and show more relevant products, which enhances CTR, conversion rate, and overall ad efficiency.