

Why does Google Tag Manager implementation matter so much in digital marketing? The truth is, good marketing decisions start with accurate data.
This guide is your complete roadmap to GTM success. We’ll start with the basics of what GTM is and how it works synergistically with Google Analytics 4 (GA4). First, we’ll focus on strategic planning and installation. Then, we’ll work on mastering core components. Finally, we’ll discuss advanced techniques for 2025, such as server-side tagging.
Quick Summary
Google Tag Manager (GTM) is a free system for managing tags. It lets you add marketing and analytics tags to your website or app easily. You won’t need to change the code at all. This guide covers everything related to GTM that you need to know. It starts with the basics, like setting up and understanding tags, triggers, and variables. Then, it moves on to advanced techniques, such as server-side tagging and Google Consent Mode. Following these steps will give you more agile control over your website tracking and improve data integrity.
What is GTM’s Role in Data Collection?
To excel in your marketing data, start by grasping the essential role of Google Tag Manager. It acts as a central hub, linking your website with tools like Google Analytics. This simplifies the management of tracking codes.
Think of Google Tag Manager as more than just a tool; it’s your strategic partner. From my experience with digital agencies, the best ones use GTM for agility. It lets them quickly add new tracking tags for tools like Google Ads or the Facebook Pixel. They don’t have to wait on developer backlogs.
Key Benefits of GTM
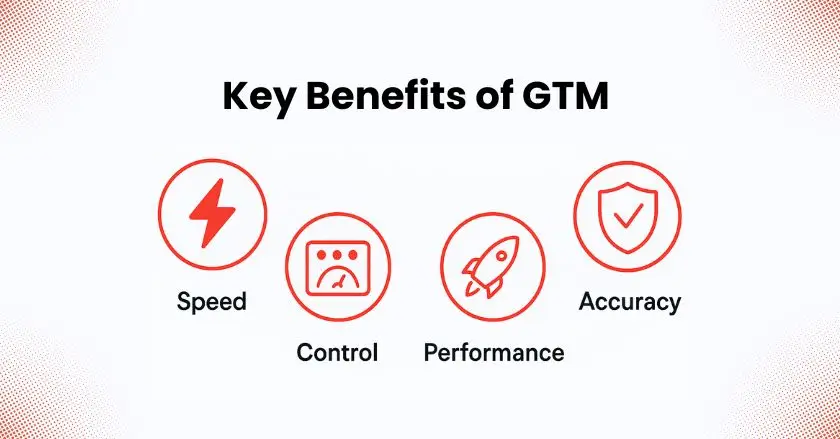
- Agility and Speed: Deploy or update tracking codes in minutes, not weeks. This allows you to react quickly to new marketing opportunities or analytics needs.
- Centralized Control: Manage all your website tags from a single user interface. This simplifies organization and reduces the risk of errors from manually placed snippets of code.
- Enhanced Performance: GTM helps improve your website’s load times by loading tags asynchronously. This is important for both user experience and SEO.
- Data Integrity: Use Preview Mode and version control to test changes thoroughly. This helps keep your data collection accurate and reliable before publishing.
How Does GTM Relate to GA4?
Many freelancers and agencies get confused about the relationship between GTM and Google Analytics. They aren’t competitors; they are partners. GTM is the tool used to deploy and manage tags, while Google Analytics 4 is the platform that receives and analyzes the data sent by those tags.
Google Tag Manager vs. Google Analytics 4
- Think of GTM as the delivery truck and GA4 as the warehouse. GTM’s job is to collect data points (like button clicks or form submissions) from your site and deliver them to your analytics tools.
- GA4 then takes that data, organizes it, and presents it in reports that help you understand user behavior and marketing campaign performance. You use GTM to send event tracking data to your GA4 data stream.
GTM vs. GTAG.js
- Gtag.js (Google Tag) is a single JavaScript library you can add to your website to use various Google products and services. It’s simpler to set up initially, but it offers less flexibility than GTM.
- GTM is a full-fledged tag management system. It provides a user-friendly interface to manage not just the Google Tag, but tags from hundreds of other vendors. For any business with more than a couple of tracking tags, GTM is the superior choice for scalability and control.
Strategic Planning & Initial Setup
Before you dive in, a solid plan is crucial. Defining your goals from the start will make your Google Tag Manager implementation more effective and scalable. This is a step I never skip, as it prevents major headaches down the line.
Defining Your Measurement Goals
What do you want to achieve? Before you create a single tag, identify your Key Performance Indicators (KPIs). Are you focused on lead generation through form submissions, e-commerce sales, or tracking user engagement through video player interactions? Write these goals down.
Structuring Your GTM Account
For most businesses, a single GTM account is sufficient. Within that account, you’ll create a “container” for each website or app you want to track. If you manage multiple clients, you might organize them under different accounts to keep everything clean and secure.
Team Collaboration and Security
GTM has robust user management features. You can grant different levels of access (like read, edit, or publish) to team members or clients. This makes sure only authorized users can make changes. It’s a key security step I always take for my agency clients.
How Do I Install the GTM Container?
Getting the GTM container code onto your website is the first technical step. Once it’s installed, you can manage all your other tags directly from the GTM interface. It’s a one-and-done setup that opens the door to powerful tracking.
Implementing the GTM Container Code
- After creating your container in GTM, you’ll be given two snippets of code. The first is a <script> tag that goes as high as possible in the <head> of your website’s HTML.
- The second is a <noscript> tag that should be placed immediately after the opening <body> tag. This provides a fallback for users with JavaScript disabled.
Platform-Specific Installation Methods
- WordPress: Use a plugin like “GTM4WP” to easily add the container code without touching any theme files directly.
- Shopify: Paste the code snippets into your theme.liquid file. Some themes have a dedicated section for scripts in the theme customizer.
- Squarespace: Use the “Code Injection” feature in the advanced settings to add the GTM code to the header and footer sections.
Verifying Correct Installation
The Google Tag Assistant Companion is an essential browser extension. Once you’ve installed your container code, use this tool to verify that the Google Tag is firing correctly on your pages. The Tag Assistant lets you see which tags are present and troubleshoot any issues.
GTM’s Core Components
To truly use GTM, you need to understand its three core components: Variables, Triggers, and Tags. These are the building blocks of any tracking implementation.
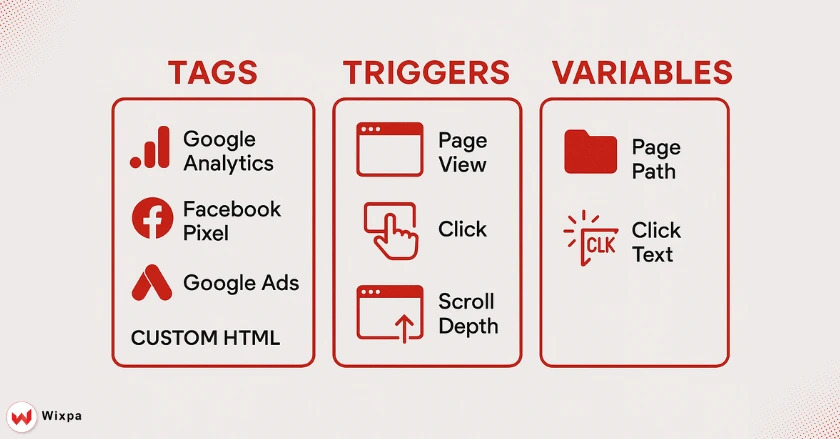
Variables: The Building Blocks
Variables are placeholders for values that can change, like a product name, a price, or a URL’s page path. GTM includes built-in variables, such as Page URL. You can also make your own user-defined variables. For instance, a Data Layer Variable helps capture custom information.
Triggers: Defining “When”
Triggers tell your tags when to fire. You can set up triggers for specific user actions like page views, button clicks, or when a user scrolls a certain percentage down a page. For example, a trigger can be configured to fire only on the “thank you” page after a form submission.
Tags: Deploying Your Tools
Tags are the snippets of code from third-party vendors that you want to add to your site. This could be your Google Analytics 4 configuration tag, a Google Ads conversion tracking pixel, or the Facebook Pixel. You simply select a tag template, configure it with your details (like a measurement ID), and assign a trigger.
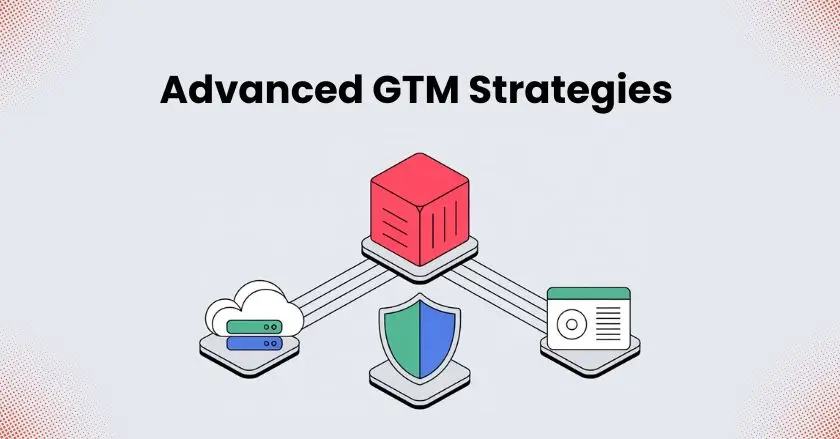
Advanced GTM Strategies for 2025
Once you’ve mastered the basics, you can unlock even more powerful insights with advanced GTM strategies. These techniques are what separate a good analyst from a great one and are crucial for staying ahead in 2025.
Comprehensive Event Tracking
Go beyond basic page views by implementing custom event tracking. Track user interactions like video plays, file downloads, and outbound link clicks to get a richer picture of user behavior. This data is invaluable for understanding what content resonates with your audience.
Cross-Domain and Subdomain Tracking
If your user journey goes across different domains or subdomains, like from your main site to a shopping cart, you need cross-domain tracking. This keeps the user session seamless in Google Analytics.
Single-Page Application (SPA) Tracking
Modern websites built with frameworks like React or Angular often don’t reload the page as users navigate. In these cases, you need to configure GTM to listen for “History Change” events or use the data layer to track these virtual page views accurately.
Server-Side Tagging (SST)
Server-side tagging is the future. It involves sending data to a server-side GTM container first, instead of directly from the user’s browser. This gives you more control over data, can improve site performance, and helps mitigate the impact of ad-blockers and browser tracking restrictions.
Privacy-First Tracking with Google Consent Mode
With privacy regulations becoming stricter, implementing Google Consent Mode (GCM) is non-negotiable. GCM allows you to adjust how your Google tags behave based on the user’s consent status, ensuring you collect data in a compliant and ethical manner.
Connecting GTM to CRO & Personalization
Use GTM to deploy A/B testing tools like Google Optimize or VWO. You can create custom events depending on the page variant a user sees. This helps you segment your analytics data. It also helps you measure how well your conversion rate optimization works.
Pro Tips for Google Tag Manager Implementation
- Use the Data Layer: The data layer is a JavaScript object that passes information from your website to your Tag Manager container. A well-structured data layer is the key to a robust and scalable tracking setup.
- Stay Organized: Use a consistent naming convention for your tags, triggers, and variables. As your container grows, this will save you countless hours. A messy container is just as bad as hardcoded tags.
- Test, Test, Test: Always use Preview Mode (also known as Debug Mode) to test your changes thoroughly before publishing. Verify that your tags fire on the correct triggers and that the data being sent is accurate. This is like having a local testing environment for your analytics.
- Use Version Control: GTM automatically saves previous versions of your container. If you make a mistake, you can quickly roll back to a previous, working version. This is a lifesaver.
Your Path to Smarter Data
For freelancers and digital agencies, mastering Google Tag Manager implementation is a must. It is the key to unlocking agile, precise, and privacy-compliant data collection. By moving beyond manual tag management, you empower your team to make data-driven decisions faster and more efficiently.
Don’t be intimidated by the learning curve. Start with the basics, stay organized, and test everything. This guide shows you how to change your data strategy effectively. You can deliver excellent results for your clients in 2025 and beyond.
FAQs
1. What is the main benefit of using Google Tag Manager?
The main benefit is centralized control. GTM allows you to manage all of your website tracking tags from a single dashboard without needing to edit website code for every change. This saves time, reduces reliance on developers, and minimizes the risk of errors.
2. Can I use Google Tag Manager without Google Analytics?
Yes, absolutely. GTM is a tag management system that can be used to deploy tags for a wide variety of tools, including Google Ads, Facebook Pixel, Hotjar, and many others. While it works seamlessly with Google Analytics, GA is not a requirement.
3. Is Google Tag Manager difficult to learn?
GTM has a learning curve, but the basics are straightforward. Setting up simple tags for page views is easy. Advanced features like custom event tracking and server-side tagging require more technical knowledge, but with resources like this guide, it’s very achievable for marketers.
4. How does GTM affect website speed?
When used correctly, GTM can actually improve website speed. It loads tags asynchronously, meaning it doesn’t block your page content from rendering while the tags load. Consolidating tags in GTM can also reduce the number of separate code snippets on your site.
5. Is there a Shopify app to make GTM integration easier?
Yes, Apps like Wixpa Tag Manager simplify installing GTM on Shopify, saving you from manual code edits.