

Setting up Google Tag Manager with Google Ads can feel overwhelming, but it’s one of the most powerful ways to track your advertising performance. After managing hundreds of PPC campaigns, I’ve learned that proper tag implementation can make or break your conversion tracking accuracy.
This comprehensive guide will walk you through every step of connecting Google Tag Manager with Google Ads, helping you unlock better data insights and improved campaign performance.
Short Summary
Google Tag Manager simplifies how you deploy and manage Google Ads tracking codes without touching your website’s source code. By connecting these platforms, you gain enhanced conversion tracking, real-time data flow, and better control over your advertising pixels. This setup enables you to track everything from phone call conversions to offline conversions while maintaining data accuracy across all your campaigns.
Understanding Google Tag Manager (GTM)
Google Tag Manager works as a single platform where you can organize and control all your marketing and tracking tags. Instead of asking developers to manually add tracking codes to your website, GTM lets you deploy tags through an intuitive interface.
The platform works by placing a single GTM container code on your website. This container then loads all your tags based on triggers you define. For Google Ads specifically, GTM becomes your command center for managing conversion pixels, enhanced conversions, and user data collection.
Key components of GTM include:
- Tags: The real tracking codes (e.g., Google Ads conversion tracking)
- Triggers: Conditions that determine when tags fire
- Variables: Dynamic values that tags can use
- Data layers: Structured data that feeds information to your tags
From my experience working with various advertising platforms, GTM provides unmatched flexibility for managing complex tracking setups across multiple campaigns.
Benefits of Integrating GTM with Google Ads
The integration between Google Tag Manager and Google Ads delivers several game-changing advantages for your advertising efforts. Enhanced conversion tracking becomes significantly easier to implement, allowing you to capture more accurate data about customer actions.
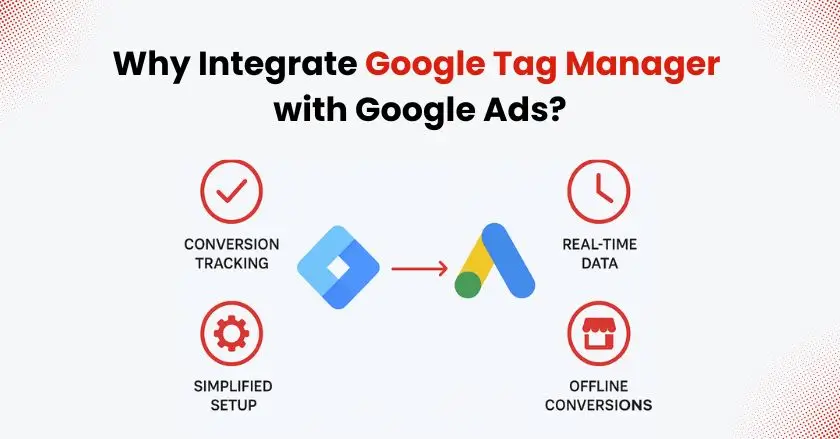
Primary benefits include:
- Simplified tag deployment without developer involvement
- Enhanced conversions setup for better attribution
- Real-time data synchronization between platforms
- Improved conversion value tracking across different data sources
- Better management of offline conversions and phone call tracking
I’ve seen advertisers increase their conversion tracking accuracy by 40% simply by properly implementing GTM with their Google Ads accounts. The platform also enables you to set up view-through conversions and adjust your click-through conversion window more effectively.
The ability to manage multiple conversion pixels from one interface saves countless hours, especially when running campaigns across different geographic markets or at your local business locations.
Setting Up Your Accounts
Before diving into the technical setup, you’ll need both Google Ads and Google Tag Manager accounts properly configured. This setup allows data to move seamlessly across different platforms.
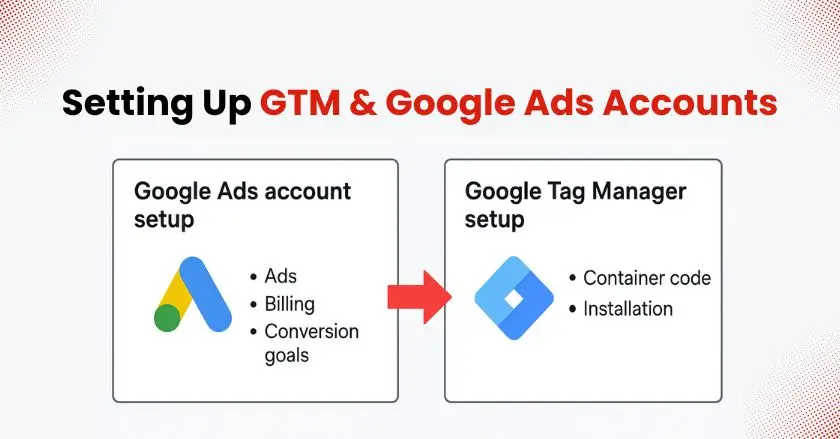
Creating a Google Ads Account
Start by visiting ads.google.com and clicking “Start now” if you don’t already have an account. Choose your advertising goal and provide basic business information. Google will guide you through initial campaign setup, but you can skip creating campaigns for now.
Essential account setup steps:
- Verify your business information and billing details
- Link your Google Analytics 4 property if available
- Set up conversion goals relevant to your business
- Configure your preferred attribution model
Setting Up a Google Tag Manager Account
Navigate to tagmanager.google.com and create your account. You’ll need to provide your website URL and choose your target platform (web, iOS, Android, etc.).
Google Tag Manager creates a unique container ID along with the installation code. Copy both the head and body portions of the code, as you’ll need to install these on every page of your website before proceeding with Google Ads integration.
Connecting Google Tag Manager with Google Ads
The actual connection process requires careful attention to detail, but following these steps ensures proper data flow between platforms.
Accessing the GTM Dashboard
As soon as you sign in to GTM, the workspace dashboard becomes visible. This central hub displays all your tags, triggers, and variables. The left sidebar provides quick access to each section.
Navigation essentials:
- Workspace: Your current working environment
- Tags: Where all tracking codes live
- Triggers: Conditions for tag activation
- Variables: Dynamic data sources
- Templates: Pre-built tag configurations
Familiarize yourself with the preview mode button, which allows testing changes before publishing them live.
Linking Google Ads and GTM
Start by creating a new tag in GTM. Select “Google Ads Conversion Tracking” from the tag templates. You’ll need to have your Google Ads Conversion ID and Conversion Label. These can be located in your Google Ads account by navigating to Tools & Settings and then selecting Conversions.
Connection process:
- Copy your Conversion ID from Google Ads
- Create a new variable in GTM for the Conversion ID
- Set up triggers based on your conversion events
- Configure the conversion value and currency settings
- Test the connection using GTM’s preview mode
Managing Tags, Triggers, and Variables
Proper organization of these GTM elements ensures reliable tracking and easier troubleshooting down the road.
Understanding Tags and Their Purpose
Tags represent the actual tracking codes that collect data from your website. Each Google Ads campaign might require different tags depending on your conversion goals. I suggest setting up individual tags for every key type of conversion.
Common Google Ads tags include:
- Conversion tracking tags for form submissions
- Phone call conversion tracking
- Enhanced conversion tags for better attribution
- Remarketing tags for audience building
Name your tags descriptively, such as “GA4 – Purchase Conversion” or “Google Ads – Lead Form Submit” to maintain clarity as your setup grows more complex.
Creating Triggers for Google Ads
Triggers determine exactly when your tags should fire. For Google Ads conversion tracking, triggers typically activate when users complete specific actions like form submissions, purchases, or phone calls.
Essential trigger types:
- Page View triggers for thank-you pages
- Form submission triggers for lead generation
- Click triggers for specific buttons or links
- Custom event triggers for complex user interactions
Set up your triggers to fire only on relevant pages to avoid inflating your conversion numbers with irrelevant data.
Setting Variables for Accurate Tracking
Variables provide dynamic data that your tags can use. For Google Ads integration, you’ll often need variables for conversion values, transaction IDs, and user data for enhanced conversions.
Key variable types:
- Built-in variables: Page URL, referrer, click element
- User-defined variables: Custom values from your data layer
- Constant variables: Fixed values like your Google Ads ID
- Data Layer variables: Dynamic content from your website
Configure these variables carefully, as they directly impact the accuracy of your conversion value tracking and user data collection.
Installing Conversion Linker Tag
The Conversion Linker tag plays a crucial role in accurate attribution, especially with recent privacy changes affecting third-party cookies.
Importance of the Conversion Linker Tag
This tag enhances conversion measurement by using first-party cookies to store click information. When users interact with your Google Ads and later convert on your website, the Conversion Linker helps connect these actions for proper attribution.
The tag becomes particularly important for enhanced conversions and when tracking offline conversions that occur outside your website, such as phone call conversions or in-store purchases.
Step-by-Step Installation Guide
- Create a new tag in GTM.
- Select “Conversion Linker” from Google tag templates.
- Set the trigger to “All Pages”.
- Save and publish the tag.
- Verify installation using GTM preview mode.
The Conversion Linker should fire on every page of your website to ensure comprehensive tracking coverage. I’ve found this tag reduces attribution gaps by up to 20% in most advertising accounts.
Creating Google Ads Conversion Tags
Properly configured conversion tags form the backbone of your Google Ads performance measurement.
Designing Conversion Tags for Your Campaigns
Start by identifying all valuable actions users can take on your website. These might include purchases, form submissions, phone calls, or even specific page views that indicate high intent.
Tag configuration best practices:
- Use descriptive naming conventions
- Set appropriate conversion values for ROI tracking
- Configure the correct click-through conversion window
- Enable enhanced conversions when possible
- Set up proper attribution models for your business
Each conversion action should have its own dedicated tag with specific triggers that match the user behavior you want to track.
Implementing Tags in GTM
Create your conversion tag by selecting “Google Ads Conversion Tracking” from the tag gallery. Input your Conversion ID and Label from your Google Ads account. Configure the conversion value using either a static amount or a dynamic variable.
Implementation checklist:
- Add your Google Ads Conversion ID
- Input the specific Conversion Label
- Set conversion value (static or dynamic)
- Choose your currency
- Configure triggers for tag activation
- Test thoroughly before publishing
Remember to set up separate tags for different conversion types to maintain clear reporting in your Google Ads account.
Testing and Debugging Tag Issues
Thorough testing prevents data collection problems that could impact your campaign optimization efforts.
Testing Tag Deployments
GTM’s preview mode lets you see exactly which tags fire on each page. Navigate through your website’s conversion flow while preview mode is active. Check that conversion tags fire only when intended actions occur.
Testing protocol:
- Enable preview mode in GTM.
- Complete test conversions on your website.
- Verify tags fire at the correct moments.
- Check that conversion data appears in Google Ads.
- Test across different devices and browsers.
Allow 24-48 hours for conversion data to populate in your Google Ads reports after successful tag deployment.
Debugging Common Tag Issues
Most tag problems stem from incorrect trigger configuration or missing data layer variables. Use GTM’s built-in debugging tools to identify where tags fail to fire properly.
Common issues and solutions:
- Tags not firing: Check trigger conditions and test events
- Incorrect conversion values: Verify variable configuration
- Duplicate conversions: Review trigger settings for multiple firings
- Attribution problems: Ensure Conversion Linker tag is active
Monitor your Google Ads conversion reports regularly to catch and address issues quickly.
How Does GTM Improve Conversion Tracking?
GTM significantly enhances your ability to capture and analyze conversion data across multiple touchpoints in the customer journey.
Enhanced conversion tracking becomes more accessible through GTM’s interface, allowing you to capture first-party user data while respecting privacy regulations. The platform enables seamless integration with offline conversion imports and phone call tracking systems.
Tracking improvements include:
- Better attribution across devices and sessions,
- Enhanced conversions using hashed customer data,
- Improved offline conversions integration,
- More accurate conversion value reporting,
- Real-time data synchronization with Google Ads,
Integrating with Google Analytics 4
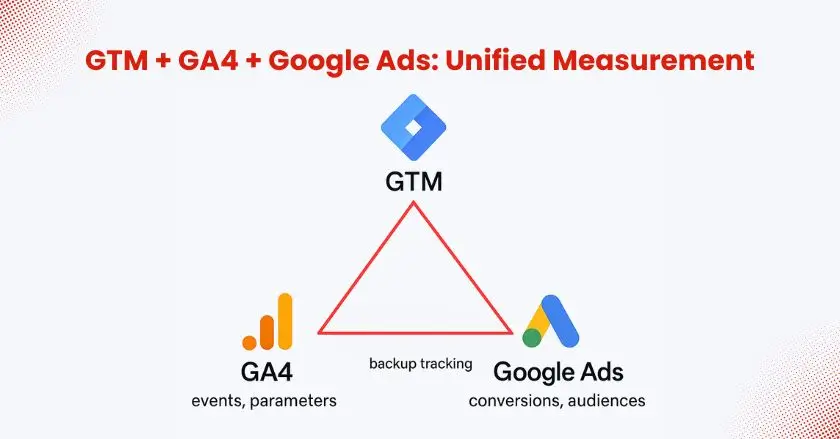
Connecting GTM with both Google Ads and Google Analytics 4 creates a comprehensive tracking ecosystem. This integration allows you to leverage GA4’s enhanced measurement capabilities while maintaining Google Ads conversion tracking.
Set up GA4 tags in GTM alongside your Google Ads tags. Configure event parameters that align with your Google Ads conversion goals. This dual setup provides backup tracking and additional insights into user behavior patterns.
Differences Between Native Tagging and GA4
Native Google Ads tagging provides direct conversion tracking, while GA4 integration offers deeper behavioral insights. Using Google Tag Manager, you can implement both approaches simultaneously for maximum data coverage.
GA4 provides more detailed user journey analysis, while native Google Ads tags offer faster data processing for campaign optimization. The combination gives you both immediate optimization data and long-term strategic insights.
What Are Common GTM Integration Issues?
Even experienced advertisers encounter challenges when connecting GTM with Google Ads, but most issues have straightforward solutions.
Identifying Common GTM Errors
Configuration errors typically manifest as missing conversion data, inflated conversion counts, or attribution discrepancies. Regular monitoring helps catch these problems early.
Frequent error patterns:
- Conversion tags firing multiple times per page
- Missing conversion data due to trigger misconfigurations
- Incorrect conversion values from variable setup problems
- Attribution gaps from missing Conversion Linker tags
Document your tag setup thoroughly to facilitate troubleshooting when issues arise.
Quick Fixes for Frequent GTM Problems
Most GTM problems resolve quickly once you identify the root cause. Keep a systematic approach to debugging, starting with the most common issues.
Troubleshooting steps:
- Verify all tags appear in preview mode
- Check trigger conditions match intended events
- Confirm conversion data flows to Google Ads
- Test across different user scenarios
- Monitor data accuracy in both platforms
Maintain regular backups of your GTM container to enable quick restoration if configuration changes cause unexpected problems.
Final Words:
Successfully integrating GTM with Google Ads improves your conversion tracking capabilities and provides the foundation for data-driven campaign optimization. The setup requires attention to detail, but the payoff in tracking accuracy and campaign performance makes the effort worthwhile.
Start with basic conversion tracking and gradually expand to enhanced conversions and offline conversion imports as you become more comfortable with the platform. Remember that accurate tracking drives better optimization, leading to improved ROI across all your advertising efforts.
Take time to test your setup thoroughly before launching major campaigns, and don’t hesitate to use GTM’s preview mode whenever making changes to your tag configuration.
FAQs
Q: How long does it take to set up Google Tag Manager with Google Ads?
Basic setup typically takes 2-4 hours, including account creation, tag configuration, and testing. Complex setups with multiple conversion types and enhanced conversions may require additional time for proper implementation and testing.
Q: Can I use GTM for enhanced conversions with Google Ads?
Yes, GTM fully supports the enhanced conversions setup. You’ll need to configure additional tags that capture hashed customer data, like email addresses or phone numbers, to improve conversion attribution accuracy.
Q: How do I track offline conversions through GTM?
Set up conversion actions in Google Ads for offline events, then use GTM to capture online interactions that lead to offline conversions. Import offline conversion data using Google Ads’ conversion import feature, matching online clicks to offline actions.
Q: Why aren’t my conversion tags firing in GTM preview mode?
Common causes include incorrect trigger conditions, missing form IDs or button classes, or data layer variables not populating correctly. Check your trigger settings against actual page elements and test the conversion flow step-by-step.
Q: How do I set up Google Tag Manager for my Shopify store without coding?
Setting up GTM can be tricky since it involves adding code and configuring tags. For Shopify, the Wixpa Tag Manager app handles everything like installing GTM correctly, integrating Google Ads and GA4, and ensuring accurate tracking without editing theme code. So you can focus on running ads instead of fixing setup issues.