


Have you ever wondered how Google Tag Manager for WordPress can make tracking on your site so much easier? Instead of digging into complicated code or asking your developer for help every time you want to add a new script, GTM gives you a simple way to manage everything in one place.
Google Tag Manager has transformed the way website owners manage tracking. These days, it’s an essential tool for anyone who wants a clear picture of how their site is performing.
Whether you’re running a personal blog, an online store, or juggling multiple client sites, learning GTM can save you hours of work and give you the freedom to set up advanced tracking without ever touching the source code.
Quick Summary
Google Tag Manager for WordPress makes it easier to handle tracking codes by acting as one place where you can organize and control all your marketing and analytics tags. Instead of manually adding code snippets to your theme files, you install one GTM snippet and manage everything through an intuitive user interface. This approach reduces site bloat, improves loading speeds, and eliminates the need for developer intervention when setting up Google Analytics 4, Facebook Pixel, or other tracking platforms.
Why Should WordPress Users Choose Google Tag Manager?
Updating tracking codes the old way usually means editing your website’s theme files. Each time you want to set up GA4, Google Ads conversion tracking, or another marketing tool, you have to repeat the process. This old-school method creates several headaches that Tag Management Systems like GTM solve elegantly.
Comparison with Traditional Methods
![]()
Traditional tracking code installation requires you to:
- Edit your child theme’s header.php file directly,
- Risk of breaking your site if you make syntax errors,
- Lose all tracking codes when switching themes,
- Wait for developer help for complex implementations,
With Google Tag Manager, you install the container code once and manage everything else through the web-based dashboard. Your tracking scripts stay intact regardless of theme changes, and you can deploy new tags instantly without touching your WordPress files.
Features of Google Tag Manager
The real power of Google Tag Manager lies in its centralized approach to tag management. You can:
- Deploy new tracking codes in minutes, not hours
- Manage dozens of marketing tags from one dashboard
- Set up advanced triggers based on user activity
- Control exactly when and where each tag fires
This centralized control means you can respond quickly to marketing needs. Need to add a new Google Ads Conversion tag for a flash sale? Deploy it in GTM without waiting for your developer or risking your site’s stability.
Built-in Testing Tools in GTM
One feature that sets GTM apart from manual code installation is its robust testing environment. The Preview mode lets you see exactly which tags fire on each page, helping you catch issues before they affect your live site. You can verify that your Google Analytics 4 setup captures page views correctly or confirm that your form submission events trigger properly.
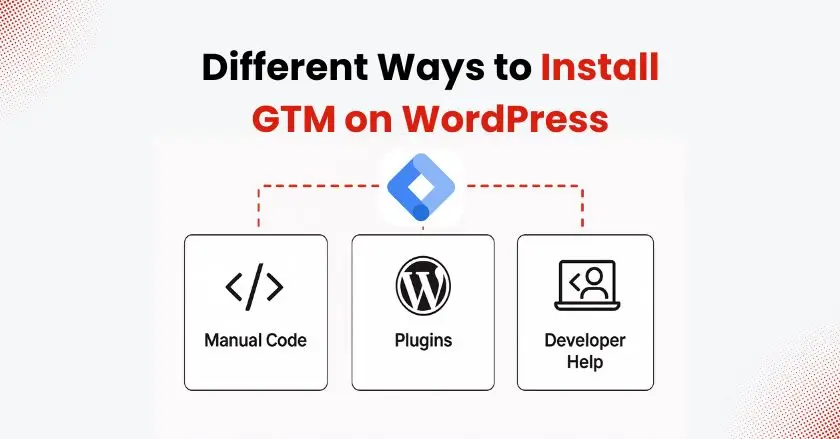
How To Set Up Google Tag Manager For WordPress?
Setting up Google Tag Manager on a WordPress site can be done in different ways, depending on how comfortable you are with technical tasks. The key is choosing the method that matches your skills and long-term maintenance preferences.
Creating a GTM Account
Start by visiting the Google Tag Manager website and creating your free account. You’ll first need to create a container, which works like a folder that holds all the tags for your website. Select “Web” as your container type and enter the URL of your WordPress site.
Once created, GTM provides you with two code snippets: one for your HTML head section and another for immediately after your opening body tag. These container code pieces are what connect your WordPress site to your GTM dashboard.
Installing GTM Code Manually
For users comfortable with WordPress customization, manual installation offers complete control. Open your current theme’s functions.php or header.php file by navigating through the WordPress admin panel or by using an FTP client.
The first GTM snippet goes in your theme’s header section, while the second snippet should be placed right after the opening body tag. If you’re using a child theme (which you should be), add the code there to preserve your changes during theme updates.
Using Plugins for GTM Setup
Several WordPress plugins simplify GTM installation, offering options that range from basic code injection to advanced tag management features. Popular choices include:
- GTM4WP (Google Tag Manager for WordPress)
- Insert Headers and Footers
- Duracell Tomi’s Google Tag Manager
These plugins handle code placement automatically and often include additional features like enhanced eCommerce tracking setup and automatic data layer events for common WordPress actions.
Offering Instructions to a Developer
If you’re working with a developer, provide them with your GTM container ID and request that they implement the container tag in your theme’s template files. Emphasize the importance of placing the code correctly to ensure proper tracking functionality across all pages.
How Can You Verify GTM Integration Works?
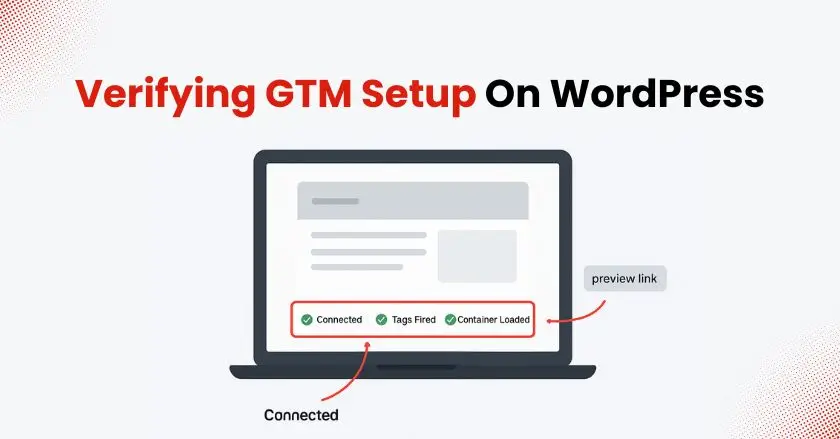
After installing your GTM snippet, verification ensures everything functions correctly before you start adding tracking codes. This step prevents data loss and identifies potential issues early in the implementation process.
Use GTM’s Preview mode to test your installation. Navigate to your GTM dashboard, click “Preview,” and then visit your WordPress site in a new tab. You should see the GTM debugging panel appear at the bottom of your browser, confirming successful integration.
Check that basic page view events fire correctly and that your container versions load properly. If the debugging panel doesn’t appear, review your code placement and ensure no caching plugins are interfering with the GTM snippet execution.
Advanced Tracking Strategies That Work Best:
Once your basic GTM setup is working, you can implement sophisticated tracking that provides deeper insights into user behavior on your WordPress site.
![]()
Tracking Link and Button Clicks
By tracking clicks, you can see which links and buttons your visitors interact with the most. Set up triggers for external links, download buttons, and call-to-action elements to understand what drives user engagement on your site.
Create custom event tracking for specific elements like newsletter signup buttons or product links. This data helps optimize your content layout and improve conversion paths throughout your site.
Monitoring Form Conversions
Form submission tracking is crucial for understanding your conversion funnel. Whether you’re tracking contact forms, newsletter signups, or lead generation forms, GTM can capture these events without modifying your form code.
Set up triggers that fire when users complete forms successfully, and pass relevant data to your analytics platforms. This approach works particularly well with local businesses that rely on contact forms for customer acquisition.
Evaluating eCommerce Performance
For WordPress sites running WooCommerce or other eCommerce solutions, GTM enables detailed purchase tracking and customer journey analysis. Implement enhanced eCommerce tracking to monitor product views, add-to-cart events, and completed purchases.
This level of tracking provides insights into which products perform best and where customers drop off in your sales funnel, enabling data-driven optimization decisions.
How Do You Connect Google Analytics 4?
Integrating Google Analytics 4 with GTM creates a powerful analytics foundation for your WordPress site. This connection provides comprehensive user behavior data while maintaining clean, manageable code.
Create a new GA4 Configuration tag in your GTM container using your Analytics measurement ID. Set this tag to fire on all page views, ensuring comprehensive site tracking from day one.
Configure additional GA4 event tags for specific user actions like file downloads, video plays, or scroll depth tracking. This granular approach gives you detailed insights into how visitors interact with your content.
Can GTM Handle Meta Pixel Tags?
Facebook Pixel integration through GTM simplifies social media advertising tracking and retargeting campaign setup. Rather than adding the Facebook tracking code directly to your WordPress theme, manage everything through your GTM interface.
Create a Facebook Pixel base code tag that fires on all pages, then set up custom events for conversions, purchases, or other valuable actions. This setup enables sophisticated retargeting campaigns and accurate ad performance measurement.
The GTM approach also makes it easy to implement other social media tracking codes like Pinterest tags or TikTok pixels without cluttering your WordPress installation.
How Does GTM Simplify Data Collection?
Managing complex data collection becomes straightforward when you understand GTM’s data layer concept and variable system. These features let you capture detailed user behavior information without extensive custom coding.
The data layer acts as a bridge between your WordPress site and your marketing tools, storing information about user actions, page content, and site interactions. GTM accesses this information through variables, which you can then use in tags and triggers.
Create custom variables to capture specific WordPress data like post categories, author information, or custom field values. This approach enables sophisticated audience segmentation and personalized marketing campaigns.
Common Google Tag Manager Mistakes:
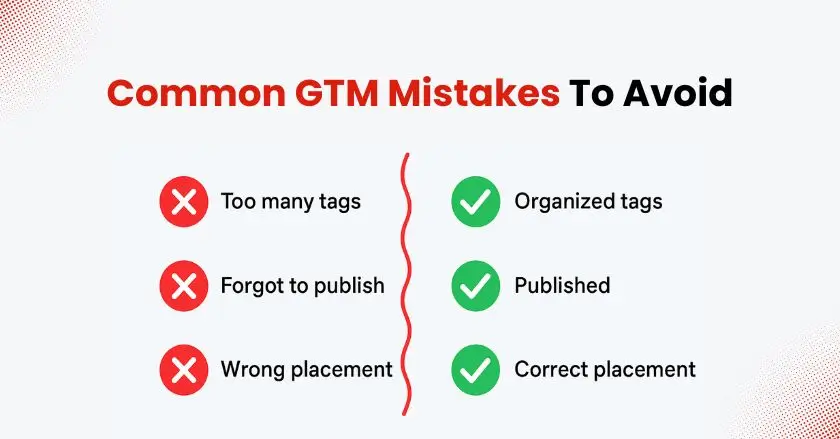
Common GTM implementation errors can compromise your tracking accuracy and site performance. Understanding these pitfalls helps you maintain clean, effective tag management practices.
Avoid firing tags unnecessarily across your entire site when they only need to trigger on specific pages. This practice slows down your website and inflates your analytics data with irrelevant information.
Don’t forget to publish your GTM changes after testing. Many users spend time setting up tags perfectly in Preview mode, only to forget the final publication step, leaving their tracking inactive.
Best Practices to Ensure GTM Success:
Implementing GTM effectively requires following established best practices that maintain organized, efficient tag management over time.
Use descriptive naming conventions for your tags, triggers, and variables. Instead of generic names like “Tag 1” or “Button Click,” use specific descriptions like “Contact Form Submission” or “Product Page CTA Click.”
- Regularly audit your container for unused tags and outdated tracking codes
- Document your GTM setup for future reference and team members
- Test new implementations thoroughly before publishing changes
- Keep your container organized with folders and consistent naming patterns
Ready to Transform Your WordPress Tracking?
Google Tag Manager makes tracking on WordPress a whole lot easier. Instead of wrestling with bits of code, you get one simple, flexible system that grows with your site and puts you in control. You can test, tweak, and improve your setup without needing a developer at every step.
A good first move is connecting Google Analytics 4, then adding more advanced tracking as your site and skills grow. The time you invest in learning GTM pays off quickly with cleaner data, faster setups, and more freedom to run smarter marketing campaigns.
And if you’re running an online store, there are even tools that make things simpler. For example, Wixpa Tag Manager is one of the top-ranked Shopify apps for setting up GTM. It helps you get started fast and keeps your tracking organized as your store scales.
At the end of the day, your website’s success depends on understanding how people interact with it. Google Tag Manager for WordPress gives you the tools to do exactly that, so set up your first container and see how much easier managing tags can be.
FAQs
Q: What is Google Tag Manager, and why do I need it for WordPress?
Google Tag Manager is a free tool that manages all your website’s tracking codes from one central dashboard. Instead of manually adding code snippets to your WordPress theme files, you install one GTM container code and manage everything else through a user-friendly interface.
Q: Can I use GTM with any WordPress theme?
Yes, GTM works with all WordPress themes and hosting providers. The container code integrates at the template level, making it compatible with any theme design or Content Management System configuration.
Q: How does GTM affect my WordPress site’s loading speed?
GTM can improve your site speed by loading tracking scripts asynchronously and reducing the number of individual code snippets in your theme files. Proper implementation typically has minimal impact on page load times.
Q: Do I need coding skills to use Google Tag Manager?
While basic HTML knowledge helps, GTM’s visual interface makes most tracking implementations accessible to non-technical users. The tag templates and built-in triggers handle common scenarios without requiring custom code.
Q: What happens to my tracking if I change WordPress themes?
Since GTM code lives in your theme files, you’ll need to reinstall the container snippets when switching themes. However, all your tags, triggers, and variables remain intact in your GTM dashboard, making the transition much smoother than traditional tracking methods.